Twice a Year, Your Bags Deserve This: A No-Nonsense Seasonal Audit Guide
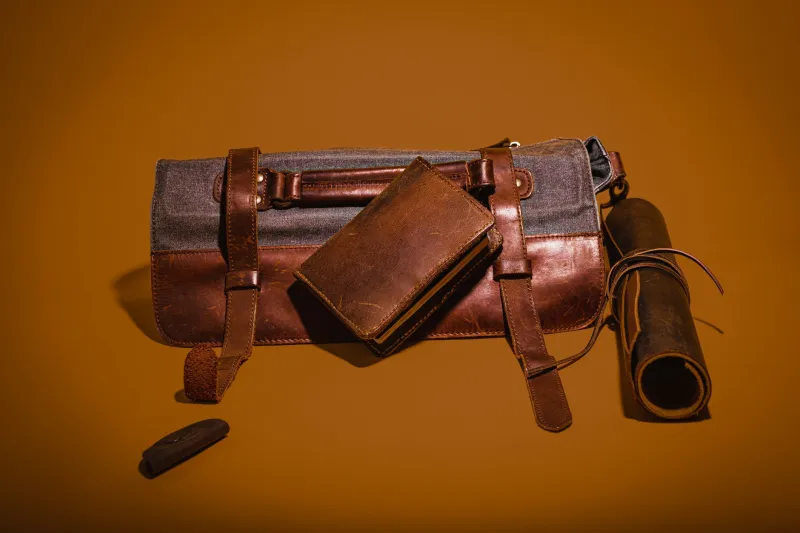
Spring and fall. That's all the time you need. Twice a year, carve out an afternoon — genuinely, block it in your calendar — and run your entire bag collection through a proper audit. Not a vague "I should clean these out" browse. An actual, methodical evaluation that covers condition, care, repair needs, and honest rotation decisions.
Done right, this process will extend the life of your bags significantly, save you money on replacements you didn't need, and make your daily carry feel more intentional. Here's exactly how to do it.
Why Twice a Year Is the Right Frequency
Seasonal transitions are the natural inflection point for your bag collection. What you carry in July — lightweight crossbodies, open-top totes, woven textures — is different from what you reach for in November. Switching seasons means pulling bags out of storage and putting others away, which is the perfect moment to assess everything before it gets shelved or pressed back into service.
Once a year isn't enough to catch gradual wear before it becomes irreversible damage. More than twice is overkill for most collections. Spring and fall hits the sweet spot.
Step One: Pull Everything Out
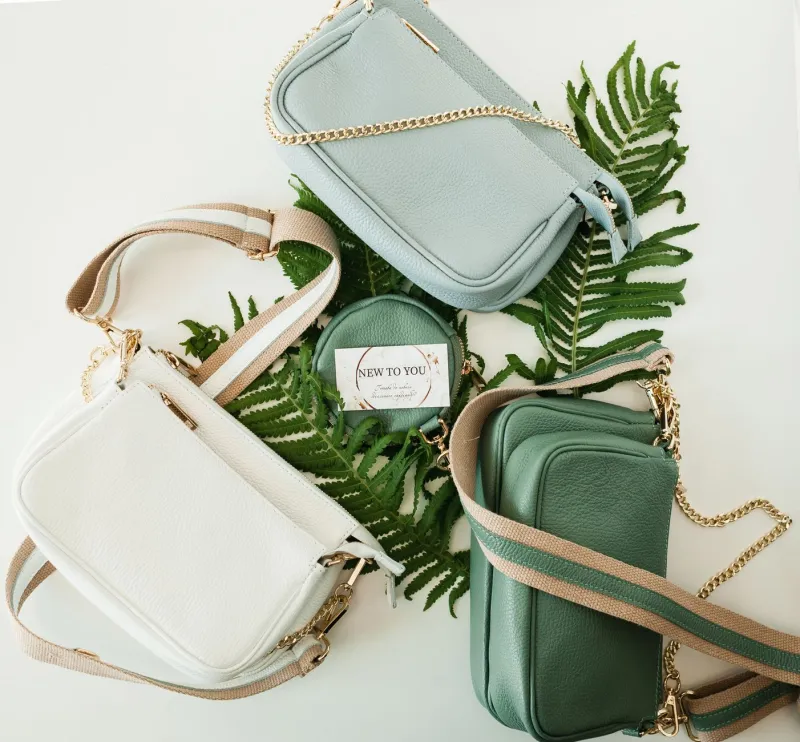
All of it. Don't audit in place. Get every bag out of your closet, off your hooks, down from your shelves, and into one room where you can see them together. This step alone is clarifying — the sheer volume of what you own becomes visible in a way it isn't when things are spread across storage.
Empty each bag completely. Check every pocket, compartment, and zippered section. You will find things you forgot about. You will also find debris, crumbs, old receipts, and the lip balm you thought you lost. Start fresh.
Step Two: The Condition Checklist
For each bag, work through the following. You can do this quickly once you have the rhythm — aim for about five minutes per bag.
Exterior:
- Surface scratches or scuffs (minor vs. deep)
- Color fading or discoloration
- Peeling, cracking, or flaking material
- Stains that haven't been addressed
- Shape distortion or sagging
Hardware:
- Zipper function (smooth? catching? pulling off track?)
- Clasp security (snapping firmly? loose?)
- Ring and D-ring integrity (no bending or spreading)
- Buckle function
- Tarnish or corrosion
Straps and Handles:
- Stitching at attachment points (critical — this is where bags fail)
- Leather or fabric condition along the length
- Adjustable hardware function
- Any fraying, cracking, or splitting
Interior:
- Lining condition (tears, peeling, staining)
- Interior pocket functionality
- Odor (musty smell indicates moisture damage in storage)
- Structural base integrity
Mark anything that needs attention. This becomes your repair list.
Step Three: The Repair Timeline
Not everything needs immediate attention, but everything needs a decision. Here's how to categorize your repair needs:
Immediate (address before next use):
- Strap stitching that's pulling away from hardware
- Zipper that won't close properly
- Interior lining that's actively shedding material onto your belongings
- Any structural issue that affects how the bag carries weight
Within the season:
- Surface conditioning and treatment for leather
- Hardware polishing
- Minor scuff repair with leather touch-up products
- Odor treatment (cedar inserts, activated charcoal sachets, or airing outdoors)
Next audit cycle:
- Cosmetic color fading that's stable
- Minor interior staining that doesn't affect use
- Small exterior scratches on less-visible areas
For repairs beyond your DIY comfort level, look for a local cobbler or leather goods repair shop. These businesses are underutilized and often excellent — most can replace zippers, restitch handles, and refinish leather for far less than a replacement bag would cost. In major US cities, there are also specialty bag restoration services worth bookmarking.
Step Four: The Honest Rotation Assessment
This is where the audit gets a little uncomfortable, and that's fine. For each bag, answer three questions:
- Did I actually carry this in the last six months?
- Does it genuinely fit my current life — not a past or future version of it?
- If I saw it in a store today, would I want it?
A "no" on question one combined with a "no" on question two is a strong signal that the bag is occupying closet space it's not earning. Question three is the gut-check that cuts through sentimental justification.
Bags that pass all three: keep, clean, and ready for active rotation. Bags that pass one or two: conditional keep. Set a six-month trial. If you haven't used it by the next audit, it goes. Bags that fail all three: seriously consider resale, donation, or retirement.
Step Five: Storage Best Practices
How you store inactive bags matters more than most people realize. Poor storage causes the kind of slow damage that's completely preventable.
Shape preservation: Stuff bags with tissue paper, bubble wrap, or a bag insert before storing. Never use newspaper — the ink transfers. The goal is maintaining the bag's natural shape so it doesn't collapse or crease over months of disuse.
Dust bags: If your bag came with one, use it. If not, a clean pillowcase works. Avoid plastic bags — they trap moisture and cause mildew.
Positioning: Store structured bags upright, not stacked on their sides. Hanging bags by their straps for extended periods can stretch or distort the hardware attachment points.
Climate: Avoid storing bags in attics, basements, or anywhere with significant temperature swings or humidity. A bedroom closet is ideal. If you're in a humid climate, a small silica gel packet inside each stored bag helps.
Light exposure: Direct sunlight fades leather and fabric. Keep stored bags away from windows.
The 20-Minute Maintenance Routine
While you have everything out, do the basic maintenance now rather than later. For leather bags: wipe down with a slightly damp cloth, let dry fully, then apply a leather conditioner appropriate for the specific type of leather (full-grain, patent, suede, and nubuck all have different needs). For fabric and nylon bags: spot clean with a gentle detergent and a soft brush, then air dry completely before storing.
This takes about 20 minutes for a typical collection and makes a visible difference in how your bags look and feel.
What You'll Have When You're Done
A clear picture of your collection — what's working, what needs care, what's ready to move on. A repair list with realistic timelines. A storage setup that will actually protect the pieces you're not using. And a rotation that reflects your real life, not an aspirational version of it.
Your bags carry your life. Twice a year, return the favor.